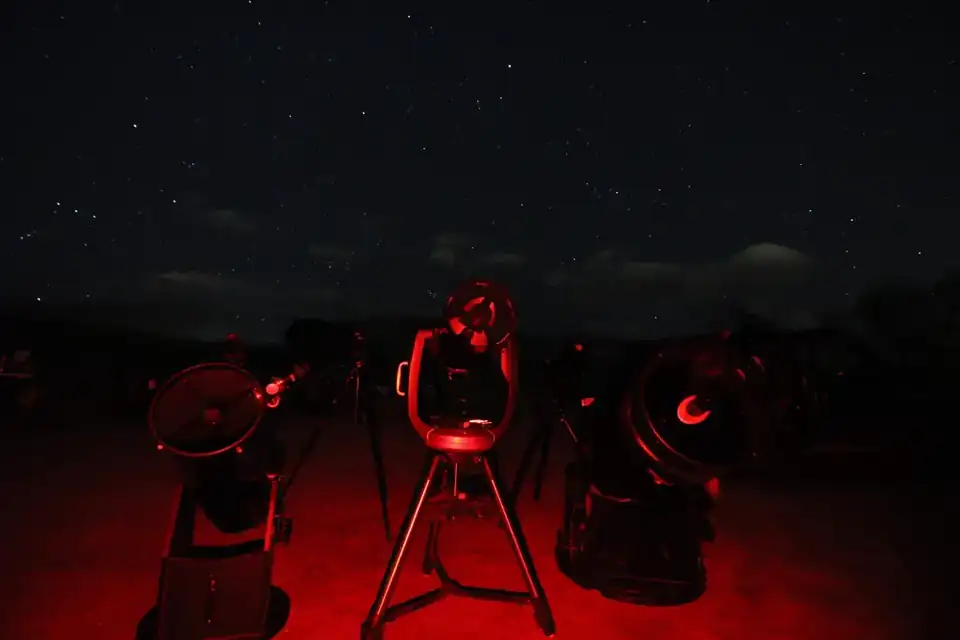
Astronomy.com stresses that a stable mount is central to a usable telescope. In the field, the ground becomes part of that mount: a great sky does not compensate for a tripod that shakes, a Dobsonian base in loose sand or an observing spot in vehicle traffic.[2]
Good setup
Use this label where the current destination information supports a firm, legal observing area with enough room to use the instrument without blocking a road, trail or accessible route.[3]
Public star-party sites such as Dinosaur show the ideal pattern: telescopes are placed in a defined open area where guests can circulate around the equipment.[3]
Possible with care
Use this where a telescope can work but wind, uneven ground, nearby lights, narrow space or a short carry makes the obvious setup imperfect. A smaller telescope or binoculars can be the better instrument when the site itself is the limiting factor.[4]
Poor / limited
Use this when the destination is better suited to naked-eye viewing, binoculars or a short landscape stop than a conventional telescope. The Planetary Society reminds beginners that a telescope is optional; many night-sky experiences are better without a large instrument.[5]
Check the surface
If the manager source does not show or describe the observing area clearly enough, this guide does not guess. Snow, loose gravel, sand, steep pavement and soft ground can all change whether a mount remains stable.[6]
Direct light can matter more than regional darkness
DarkSky's lighting guidance favors fixtures that are targeted and low-level because stray light degrades the nighttime environment. For telescope setup, avoid parking lights, building fixtures and headlight paths that shine directly into observers' eyes or telescope area.[7]
Wind is part of the mount
Colorado's exposed passes and overlooks can be clear but windy. A gusting telescope loses usable resolution and a long tube can behave like a sail. Great Sand Dunes' weather guidance is a useful reminder to check actual wind and storm conditions rather than treating “clear” as the only forecast variable.[8]
Keep the path between car and telescope safe
NPS after-dark guidance emphasizes reliable illumination, trip planning and awareness of uneven ground. Carry equipment only where you can move it safely and do not place a telescope in a roadway to gain a slightly better horizon.[9]
Bigger is not always better
If the observing area means a long carry, frequent headlights or strong wind, a compact telescope or binoculars can deliver more usable observing time than a larger instrument. Match the equipment to the place.[10]
If you want to test a telescope at a suitable site before buying your own, see the Colorado libraries currently lending telescopes, binoculars and other night-sky gear.[10]
Sources
- [1]
Photo: AstroTours.org — astrotours.org
- [2]
Astronomy.com, How to Buy Your First Telescope — astronomy.com/observing/how-to-buy-your-first-telescope
- [3]
National Park Service, Dinosaur National Monument, Night Sky — nps.gov/dino/planyourvisit/stargazing.htm
- [4]
Astronomy.com, Using a Telescope — astronomy.com/observing/using-a-telescope
- [5]
The Planetary Society, A Beginner's Guide to Stargazing — planetary.org/articles/a-beginners-guide-to-stargazing
- [6]
National Park Service, Find Your Park After Dark — nps.gov/articles/find-your-park-after-dark.htm
- [7]
DarkSky International, Five Principles for Responsible Outdoor Lighting — darksky.org/resources/guides-and-how-tos/lighting-princ…
- [8]
National Park Service, Great Sand Dunes, Weather — nps.gov/grsa/planyourvisit/weather.htm
- [9]
National Park Service, Find Your Park After Dark — nps.gov/articles/find-your-park-after-dark.htm
- [10]
Astronomy.com, How to Buy Your First Telescope — astronomy.com/observing/how-to-buy-your-first-telescope